the chimney
Over the past few weeks, when asked what stage we were at with the kiln project, the answer was consistently "the chimney." We knew it would be sizable, but it turned out we used over 2000 bricks! In fact, nearly every last hard brick to our name went to the cause. (We did manage to save a bunch of nice bricks to cut into posts for stacking up our shelves.)
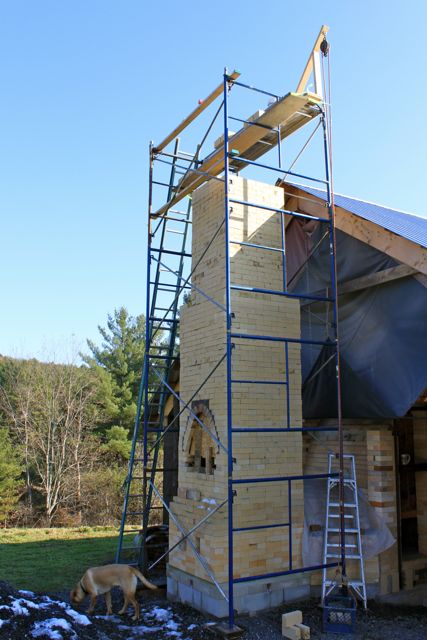
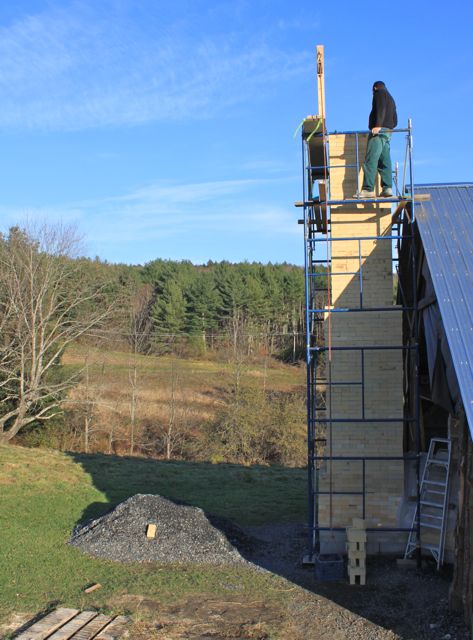
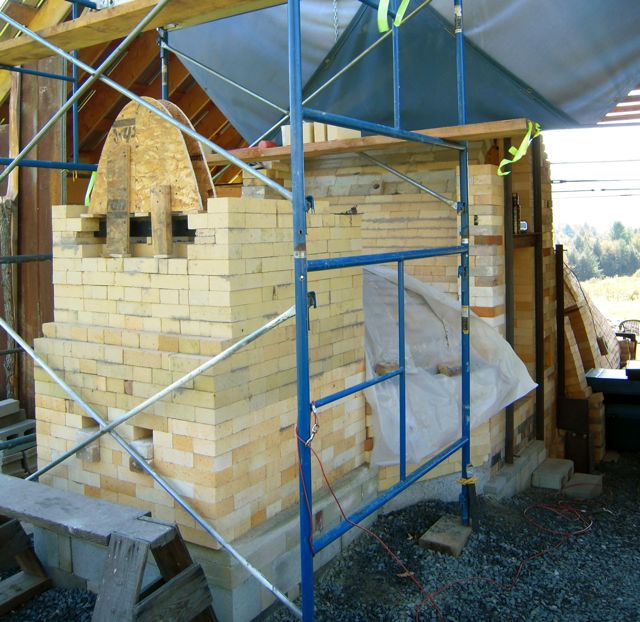
What we did know was that the chimney had to clear the building for good draw and for safety's sake (at peak temperature, the chimney will spew an amazing flame several feet in the air, and our shed is built of, you guessed it, wood) so we positioned the scaffolding around the base, and rigged up a pulley + milk crate system to get the bricks from Becca on the ground to Nathan on the chimney. And then we hauled and hauled and hauled, and leveled and laid, and leveled and laid . . . here are few photos of our autumn chimney building!
We got a little help from Becca's family early on. (Dad was a very eager hauler!) Lego, not so much helpful per se, unless you consider cute-ness to be a morale booster.
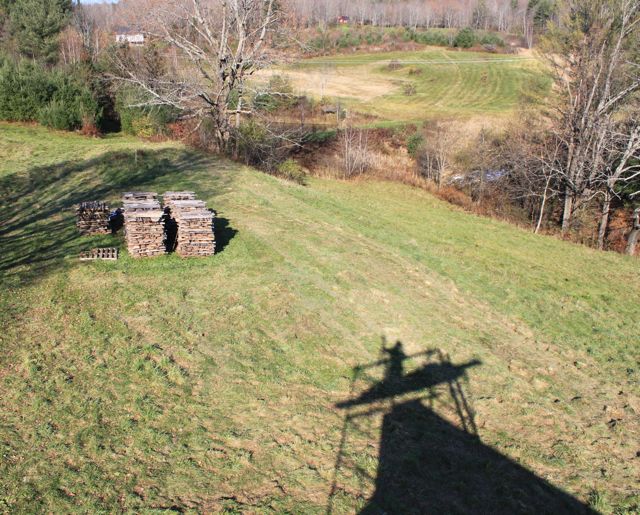
Bricks waiting for their trip up. Becca did most of the hauling, while Nathan did most of the brick laying. These bricks weigh about 8 pounds apiece! I guess we're feeling pretty strong after this part of the project . . . phew. For a good portion of the chimney, we used a double-thick stack, with each of those courses using 32 bricks. And with each course we gained 2.5 inches of height. Yup. Once we switched to a single course, things went much faster, only 14 bricks/course.
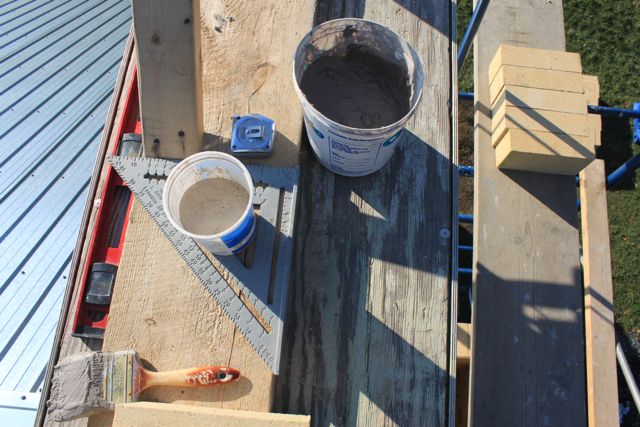
The chimney building tools atop the staging. The bricks of the kiln are mostly dry-stacked (i.e. no mortar) because of the incredible expansion the kiln will undergo during the firing. The one exception is the chimney bricks, where a thin coating of fire clay and fine grog was 'painted' on to help them set. We also built this little jig (below) to help ensure the correct placement of bricks from course to course. A lot of leveling needed to be done in every direction, but this jig helped Nathan ensure the inner dimensions stayed the same. (By the way, the inner dimension is nearly 27" square!)
The last pallet lays empty . . . celebrate! Oh, and some of you are probably wondering why there is an arched area in the back of the chimney. (below) When we configured the active dampers, we decided to span the area with a piece of steel and refractory castable. (We believe this area, with it's distance from the firebox and the cool air intake, will be cool enough for the steel to survive.) But just in case something goes wrong with this span over time, we wanted to be able to rebuild this area without taking down the entire chimney. So essentially, we hope to never have to use it, but just in case we do, the idea is that the arch supports the weight of the chimney while we scamper about with repairs. (It's not much fun to think about our kiln aging, moving, cracking, what have you, but it's good to try to plan ahead!)
Ta-da! (OK, there's still a bit of work to do in the little arch, but hey, we think it's looking pretty good!) Now, on to insulation . . .
Happy Thanksgiving to you all!


